Navigating Management Pages
CxEngage management pages in the configuration interface enable you to configure, view, and manage various aspects of your tenant. On these pages, you can create items (for example, new users in User Management), view the existing list of items for that specific page, and make updates individually or to groups of items.
The following management pages are part of the configuration interface:
|
Users |
Configuration |
Flows
Reporting |
* These pages aren't upgraded to the management page format described below and therefore may have a slightly different look and feel.
| You can only see the pages that your role permissions grant you access to. |
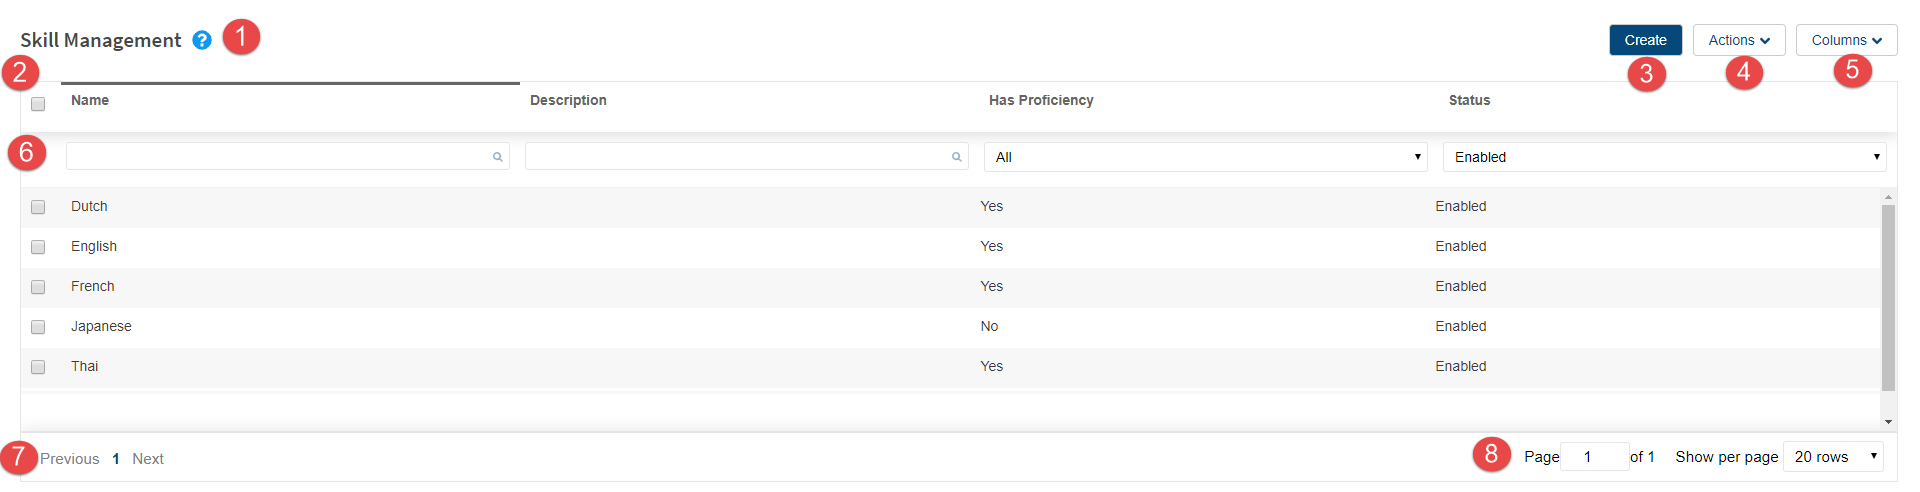
Click image to enlarge
| Object | Description | |||
|---|---|---|---|---|

|
Page name | The name of the management page - for example, User Management or Skill Management. | ||

|
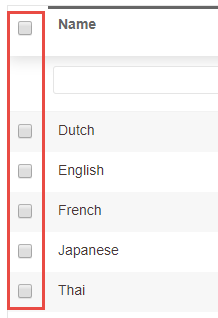
Item selection (checkbox)
|
Select items to update as part of a bulk action (see Actions
As you select items, a Bulk Actions side panel opens showing the actions available.
|
||

|
Create
|
Click Create to open a side panel to create a new item. If you don't see the Create button, you don't belong to a user role that contains required permissions to create for the given management page. |
||

|
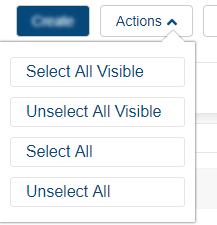
Actions
|
Enables you to make changes to multiple items at one time. Select the checkbox next to the item's name or click Actions and select one of the following:
After you've selected all of the items you want to update, select the changes you want made in the Bulk Actions side panel that opens and click Submit.
|
||

|
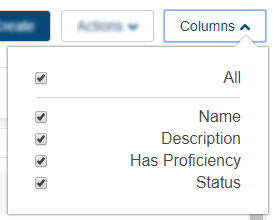
Columns
|
Choose which columns show in the list. Select the checkbox next to the columns you want to see. Clear the checkbox next to the columns you don't want to see. Click All to select all of the checkboxes or deselect All to clear all of the checkboxes. This is a personal setting and does not impact what other users see. The columns you select applies to the same management page in all tenants that you have access to. |
||

|
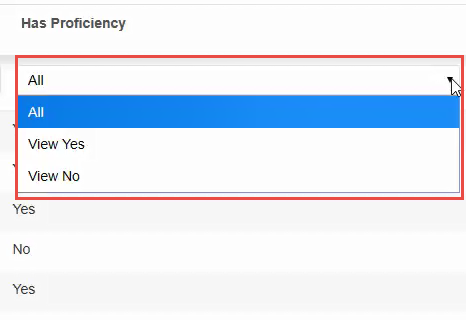
Search
Filter
|
Refine the results shown on a page by searching a column or selecting from the drop-down menu at the top of the column.
|
||

|
Page navigation
|
If your management page has multiple pages of items, use the page navigation to go from page to page.
|
||

|
Pagination
|
Page indicates the current page of results you are on out of the total number of pages of results. To go to another page, click the up and down arrows or enter a different page number and press Enter. Show per page indicates how many rows of items are listed on each page. To increase or decrease the number, select the desired rows from the drop-down menu. |
 below)
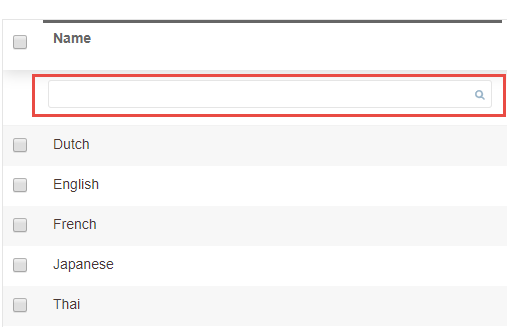
 ) at the top of the column. In the text box, begin entering the search term and the list shortens based on what you enter.
  ) at the top of the column. Click the menu and select one of the options to filter the list.

